Nature's Best :: Don Smith Photography
Exploring our incredible world one image at a time!
Get Off The Beaten Path and Practice Your Vision Skills Daily
Posted on March 4, 2014

Spanish Moss and Oaks, Garland Park, Camel Valley, California
Canon 1DMKII, 48mm, f/22, 2.5 sec., 100 ISO
I lead workshops in National Parks and famous coastlines like Big Sur. I try my best to get my students to some “off the beaten path” locations. But I also am very aware that many have come “trophy hunting.”
These are the famous locations: Delicate Arch in Arches NP, Oxbow Bend in Grand Teton NP, Pfeiffer Arch in Big Sur, Mesa Arch at sunrise in Canyonlands NP. I would be remiss if I did not visit these locations.
I understand that these locations have been photographed by literally millions of photographers, but not by my students.
Yet realistically, if you want to separate yourself from the crowd, you need to get off the beaten path, even in famous National Parks. Moreover, you need to practice refining your vision daily – even if it is just around your home.
Today’s lead image was captured with my 35mm camera. But I was not out “on a photographic excursion.” I was out with my family, on a rainy New Year’s Day hike in Carmel’s beautiful Garland Park. The on-and-off rain saturated the Spanish Moss hanging from the oaks on the trail we were hiking. This scene just emerged in front of my eyes as I rounded a bend on the trail. Without a camera, I would have only had the image in my mind. With the camera, I am able to share my exciting discovery.
The cool thing is that this image is truly mine. It’s not a location where 5o photographers were setup on tripods awaiting the light.
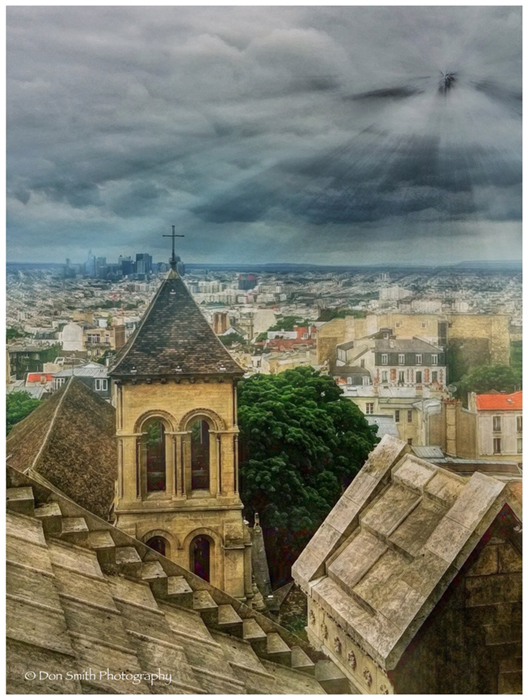
During the summer of 2012, my family and I enjoyed a dream European vacation. We spent a week in Paris, followed by London, Yorkshire (where my wife grew up) and on to Edinburgh and golf at St. Andrews, Scotland. I photographed with my 35mm only one evening in Paris, and a bit in Yorkshire over the course of the three weeks.
However, I did “photograph” everyday of the trip. Most of the time, looking for images via my iPhone. This first image was captured late in the day in Paris.
Art is really everywhere, we just need to train our eyes to spot it. It takes a bit to get into this zone, but once it kicks in, I can find images emerge, regardless of where I am.
I’ve written many times before that we are rarely without a camera – think “smart phone.” They are great visual training tools. Once we get over notion that the equipment creates the image, and realize that we create the image in our minds (and hearts), then the world becomes your photographic oyster.
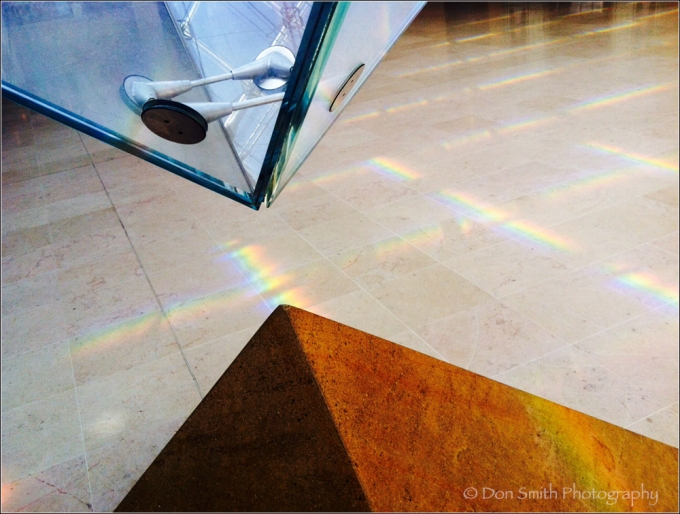
Even though I photographed the outside of the Louvre (at 10:30pm), I made this image with my iPhone while waiting for my wife to get tickets. I call it “visual exercise.” Small cameras allow us freedom to move and explore our subjects and light without being tethered to a tripod.
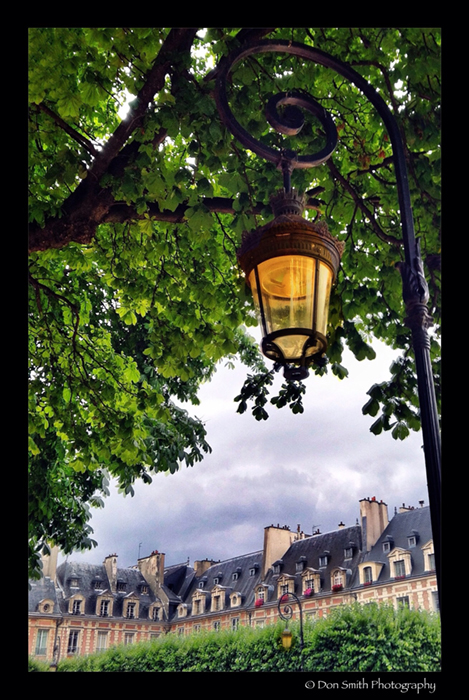
While taking an afternoon break from playing “tourist,” I kept my eye and visual skills sharp by challenging myself to make an image involving these decorative lights in Paris. It was my point of view (POV) that made this image succeed. Again, the freedom to move and explore can make for more dynamic compositions.
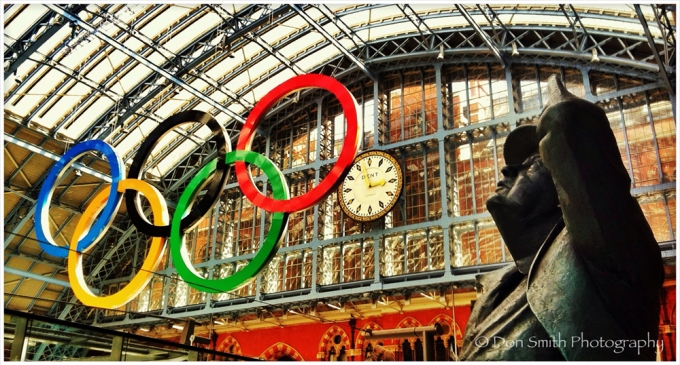
After a week in Paris, we took the bullet train to London (a week before the Summer Olympic Games began) and as we excited our train, I spotted this scene.
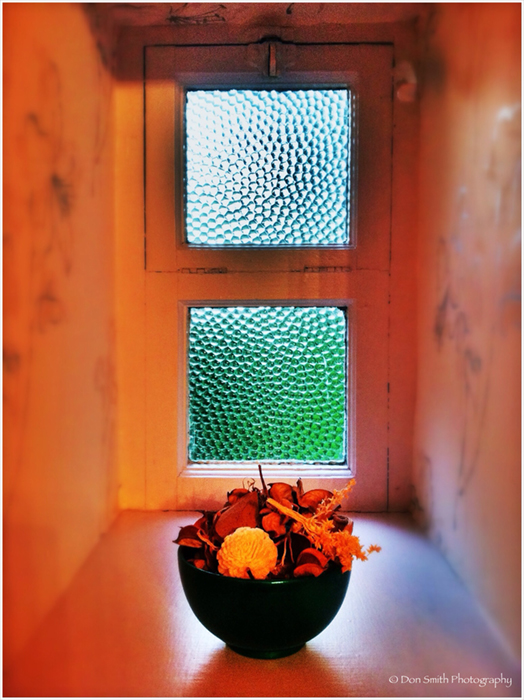
As I mentioned earlier, our trip ended with my sons and I playing a couple rounds of golf at the birthplace of the sport, St. Andrews. My wife had rented a small home on a farm just outside of the village. One morning while I was enjoying my coffee, I spotted this simple window. I didn’t see the image immediately in my mind because I wasn’t focused on just the window. As I narrowed my view, I saw this image emerge in my mind.
None of these images are “trophy shots,” but they are all fun images to revisit. Only the lead image involved a 35mm camera and tripod.
What they all have in common is that they are my vision. I’m still learning after 39 years as a pro. How? Constant study and constant practice.
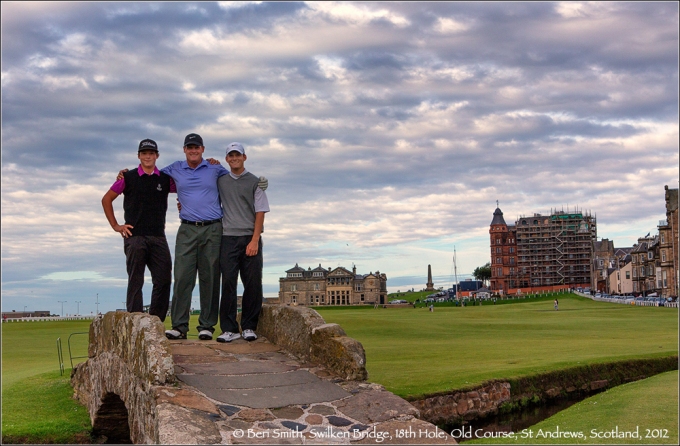
But perhaps my favorite image of the trip was captured by my wife Beri. My sons (Aaron (left) and Rob (right)) and I had just teed off the 18th hole of the famed Old Course at St. Andrews. One of the caddies told us to get up on the Swilken bridge for a photo. Beri nailed it!
We now have a large canvas print of this image now hanging in our home. I absolutely cherish the shot!
 I guess you could say that photography is just a way of life in the Smith household.
So go ahead an give your vision a daily workout. Look for art in commonplace areas. Beyond all that – have fun creating!
Free Video Sample :: Chapter 19 – Introduction to Luminosity Masks
2014 Photo Workshops – Complete List
2015 Photo Workshops
Software Discounts
Photomatix Pro 4.2 type in code at checkout: donsmithphotography 15% discount
Topaz Software type in code at checkout: SMITHPHOTO 10% discount
Helicon Focus click on link to receive 15% discount
Hardware Discounts
Special Year End “Black Friday” Offer From Think Tank Photo NOTE: (Use Promo Code WS-643)
MindShift Gear rotation180° Panorama rotating day hiker backpack
Category: Landscape Photography Tagged: backlight, California, Carmel Valley, Garland Park, oaks, spanish moss
Let Backlight Add Drama To Your Images
Posted on November 13, 2012

Canon 5DMKIII, 70-200mmL Series II + 1.4x converter @ f/16, 1/13th second, ISO 100, front element shaded by hand to prevent flare.
Processed in Nik Color Efex Pro 4 (see discount information below)
What is your first thought when seeking a landscape composition? Is is subject? Perspective? Color? Light? Well all are important elements in creating a successful image, but how often do you pay attention to the direction of the light?
In my studio work, I start with one main light (replicating the sun) then add lights as fill and highlights (kickers) where needed. I make conscious decisions regarding the harshness or softness of the light and then modify accordingly. In nature, we have but one light. Mother Nature will decide how harsh (clear sky) or soft (cloudy or foggy) that light will be. But we as photographers have to think about the direction of the light (yes, even soft light or indirect light has a direction). When I first picked up a camera in my early teen years, I can remember the instructions that came packed with each roll of Kodak film showing the photographer with the sun over their shoulder. Of course, I thought this must be what I was supposed to do. So why did all my images look flat? Well, it didn’t take long to learn that “over-the-shoulder” lighting was the worst way to photograph any subject!
Thus I started experimenting with light. Granted I couldn’t move the sun, but I certainly could move my position relative to it. But what about your subject matter you ask? Well, if the light wasn’t right, I learned to come back when it was.
Today’s image, captured on the last morning of my recently concluded Bryce/Zion workshop, was the result of scouting, anticipating, and returning when the light was right. Bryce Canyon National Park’s incredible hoodoos look great to the eye, but really only photograph well when lit properly. My two favorite types of light for shooting these incredible formations are soft (cloudy and/or indirect) and on clear days, backlight (or in this image, 3/4 backlight). Sidelighting also works well just as the sun is starting to crest the horizon. As you can see, backlighting these hoodoos allowed them to take on a luminescent glow that would not be present if the sun was too high in the sky or worse, over my shoulder. Moreover, because of the low angle of the sun, the background hill becomes a dark shadow (similar to stage lighting) and allows for the hoodoos to stand out with no distractions.
I know of various locations in the park where this lighting works well and I plan my workshop location shoots accordingly. From the rim, one is shooting into a canyon (similar to the Grand Canyon). To our eye, overhead lighting illuminating the entire canyon might look good, but when we try photographing this light, more times than not we are disappointed. Shadows will look harsh and blocked-up and highlights will be tough to control. Here is another backlit location in late afternoon light near Sunset Point. Besides the nice glow to these rows of hoodoos, I like the diagonal lines that each successive row provided adding a dynamic aspect to this composition. Again, 3/4 backlighting provides a beautiful rim light behind each hoodoo allowing it to stand out from the formations behind – each takes on a life of its own thanks to the direction of the light.

Canon 5DMKIII, 70-200mmL Series II @ f/22, 1/5th second, 100 ISO, lens shaded with baseball hat to prevent flare.
Proper light is such a key factor that as a workshop group, we stopped photographing 30 minutes prior to sunset as the light became too uneven across the canyon. We had a quick sandwich (as a session of night photography was planned) then returned as the sun set and softlight enveloped the canyon. We were even treated to a beautiful twilight wedge on the eastern horizon!
Moral of the story: pay attention to the direction of your light. Try working against the light on clear sky days and see if your images take on a entirely new sense of drama. Remember to shade your lens if you are shooting towards the sun (a hat or even your had often work) to prevent flare. Bottom line: move your position relative to the light!
NOTE: I have posted all of my 2013 workshop dates. We will be returning to Bryce Canyon next November as part of my Bryce/Zion workshop (click on link below for more information). Don’t wait as this workshop fills up fast!
2013 Photo Workshops
4th Annual Kauai Workshop – Garden Isle and Tropical Paradise – June 21-25, 2013
2nd Annual Fall Color in Grand Teton National Park – September 28 – October 2, 2013
3rd Annual Bryce/Zion National Parks – Hoodoos and Fall Color – November 1-5, 2013
Software Discounts
Photomatix Pro 4.2 type in code at checkout: donsmithphotography 15% discount
Nik Software type in code at checkout: DSMITH 15% discount
Topaz Software type in code at checkout: SMITHPHOTO 10% disount
Category: Landscape Photography Tagged: backlight, bryce canyon national park, early morning, fall, glow, hoodoos, inspiration point, pines, utah
Recent Posts
- Why I Will Never Fly American Airlines Again :: At Least Not After Next Tuesday…
- New Blog Site For Don Smith Photography!
- Do You Look Or Do You See? Developing Your Creative Vision :: Part 2 of 3
- Do You Look Or Do You See? Start With 10,000 Hours Of Practice :: Part 1 of 3
- Photographing Wildflowers In The Wind At Big Sur’s Garrapata State Park
